Company settings
In the second group of actions, you can edit all the information about your company, the accounts connected to yours and the plan you subscribed to.
Company settings
By clicking the “Company settings” card, you will be able to change your main company information (company name, category, company image and manager mode). To do so, click on EDIT (or CHANGE IMAGE for the company image) next to the field you want to change. Then, by clicking SAVE, all your changes will be visible on the page. Activating the manager mode option will no longer allow you to add your ovens to other accounts. Also, changing the cloud pin from the oven panel will no longer cause it to be automatically removed.
Managed accounts
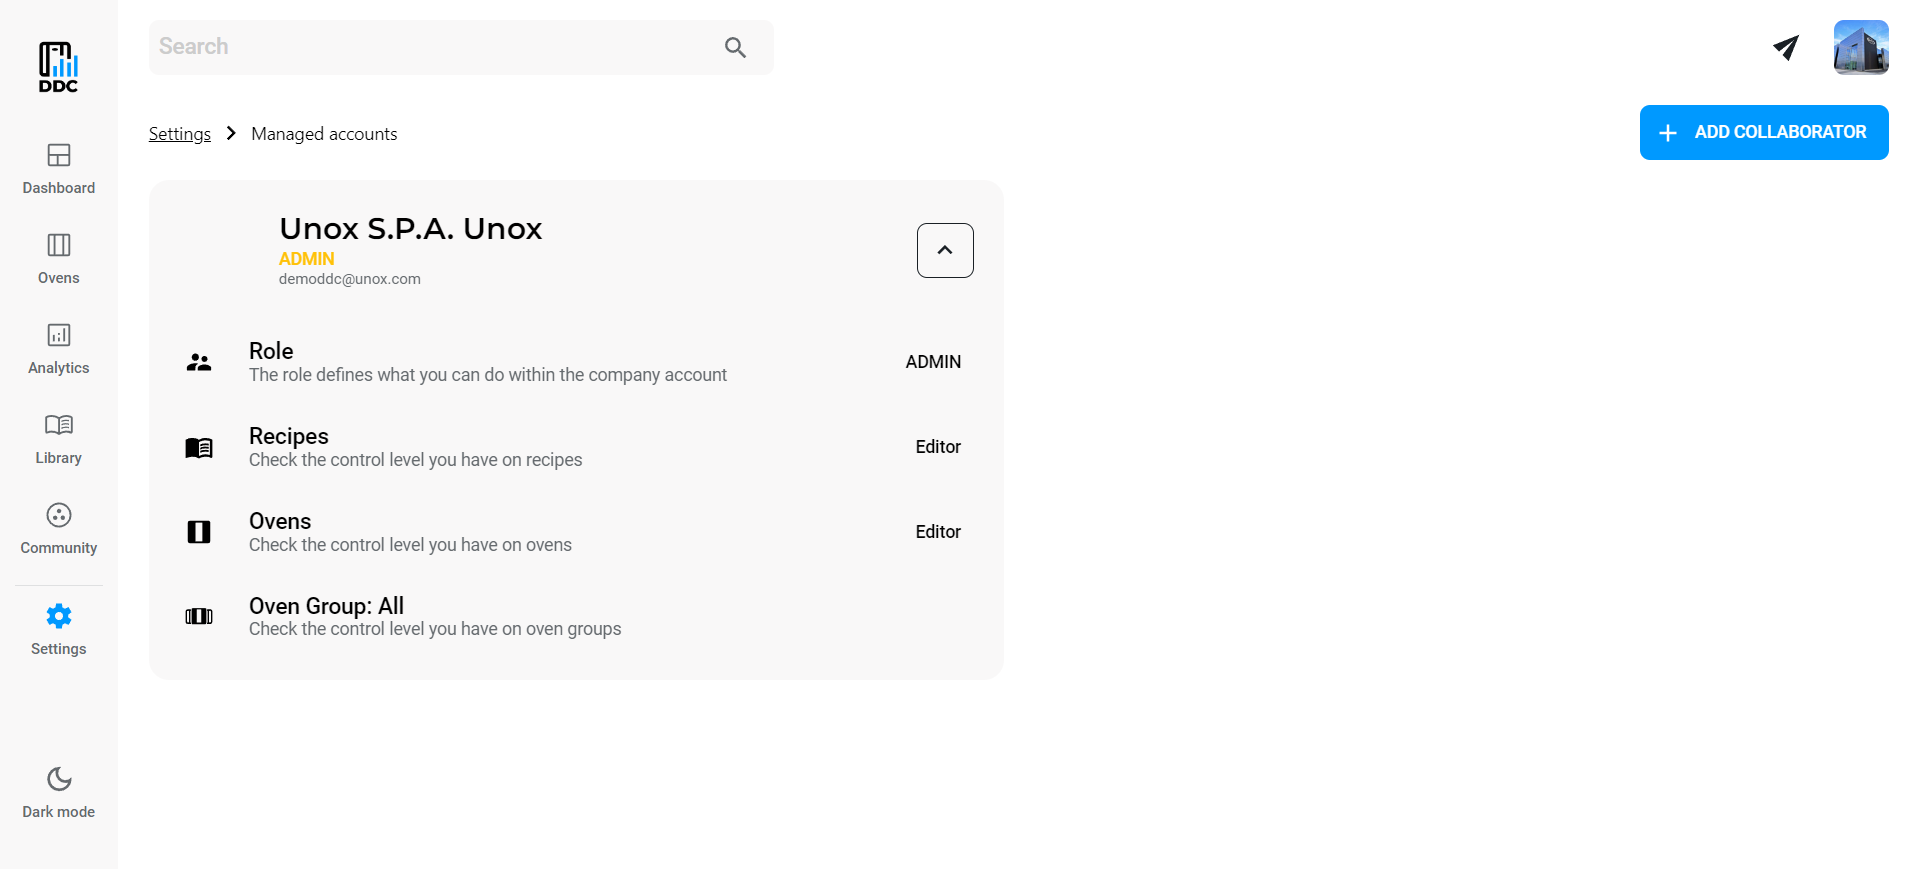
By clicking the “Managed accounts” card, you will see a page showing all the accounts that are currently connected to yours. Each account is shown in a tile with the role and the email as well. To see more information about a specific account, click on the dropdown button to expand the box.
If you are an Admin, you can decide if your collaborators can edit or just view the company recipes and ovens, you can decide which oven groups they can see and also delete their accounts.

If you need to add a new collaborator, you can click on ADD COLLABORATOR in the top-right corner of the screen. Add the name and surname of the new user and click NEXT; now you need to add an existing email and create a password that you need to communicate to your collaborator. Click ADD to finish the operation: now your collaborator can access DDC with the email and the password that you added for them.
If you are a collaborator, you will be able to see who works for your company, but you can't edit any information.
Change Company Admin
Each company can have only one Admin at a time, but the role can be transferred. To do this, the user who currently holds the Admin role should go to "My Company" and click CHANGE ADMIN in the "Company admin" section.
A popup will appear prompting you to select the user to whom the Admin role will be transferred; once you’ve chosen the user, click SELECT. This action cannot be undone, so a confirmation popup will appear asking the current Admin to confirm the transfer.
After clicking CONFIRM, the Admin role is officially transferred and the previous Admin is automatically converted to a Collaborator.
The same action can also be performed from the "Manage Account" page: click MORE and then CHANGE COMPANY ADMIN; the flow from that point is the same as described above.
The user selected as the new administrator will receive a notification in DATA DRIVEN COOKING and an email.
Enterprise plan
By clicking the “Enterprise plan” card, you can manage your plan options if necessary. Inside the page, you will be shown three boxes with your current plan information, additional options and billing.
If you need to change the number of ovens you want to pay for, the frequency of payments or if you have a promo code, click on CHANGE PLAN in the first box. Edit your plan and click on NEXT, then follow the instructions to continue.
If you need to activate, deactivate or modify REST.API, Digital.ID™ features, OPTIC.COOKING or Kitchen Scheduler, click on CHANGE PLAN in the second box. Edit your plan and click on NEXT, then follow the instructions to continue.
The last box shows you your fee for Enterprise package and additional options. If you want do cancel one or more active options click SEND EMAIL and describe to UNOX your needs within 90 days of the plan renewal date.
Daily goals
By clicking the “Daily goals” card, you can set your own parameters to use your ovens in the best way possible. By fulfilling the goals you set, which are about usage time, oven washing and time with the door open, you can save energy and enhance your usage experience with your ovens!
You can edit the parameters by clicking on EDIT close to each value you want to modify, then use the slider to set your new parameters. UNOX gives you suggestions on how to set them, so read carefully the yellow box below each value.
The Usage time goal monitors the expected working hours/day of your ovens. Only ovens that work at least the selected number of hours a day reach the goal.
The Oven washing goal specifies the minimum and maximum hours within which you want the ovens washed and checks if they are cleaned properly.
The Time with door open goal monitor, which ovens meet the UNOX standard for time spent with the door open to avoid heat loss and energy waste. Ovens that meet these values will reach the goal.
Once you set your new values, you can keep track of your usage and see if you have respected your parameters each day in the “Daily goals” box in the dashboard.