Create a recipe
One of the most convenient functions of DDC is the possibility to create your personal recipes and send them to all your ovens with just one click: let's see how.
The first step is to create a recipe: to do so, open the DDC library page and choose the type of oven where you are going to use this recipe.
If you have only one oven type in your DDC, you will automatically enter that oven type library.

Be careful to select the oven type for your recipe: you will not be able to send the recipe to ovens of a different type from the one you have specified.
Once you are in the library of the oven type that you want, you can click NEW and then click New recipe.
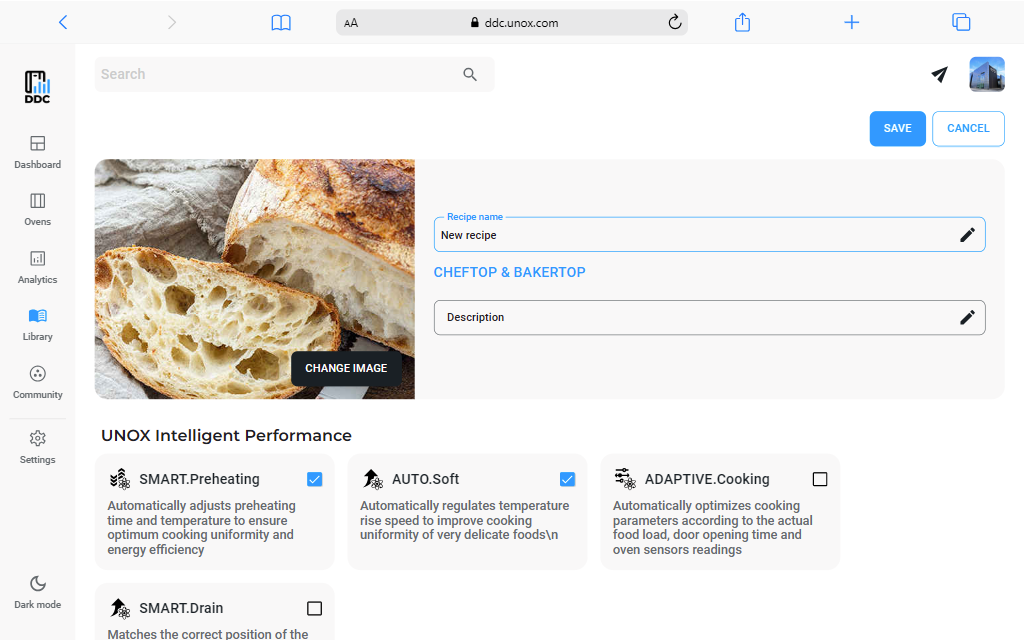
A page will open, here you have to enter all the details of your new recipe.
Recipe title
First you have to enter the name of the recipe and a description.

Recipe image
Optionally, you can add an image to your recipe. To do so, click on CHANGE IMAGE and a window will open where you can choose to use one of the default Unox images or upload a photo from your device.
You will see the same images available in the panel for the type of oven you have previously chosen.

To upload a photo, click on the corresponding button and select a picture from your device. Wait until the image is uploaded, then you can select it by clicking on it. Finally, click SAVE to confirm your choice.
UNOX Intelligent Performance
You can choose which ones of the Unox technologies you want to enable for your recipe by simply flagging the corresponding checkbox.
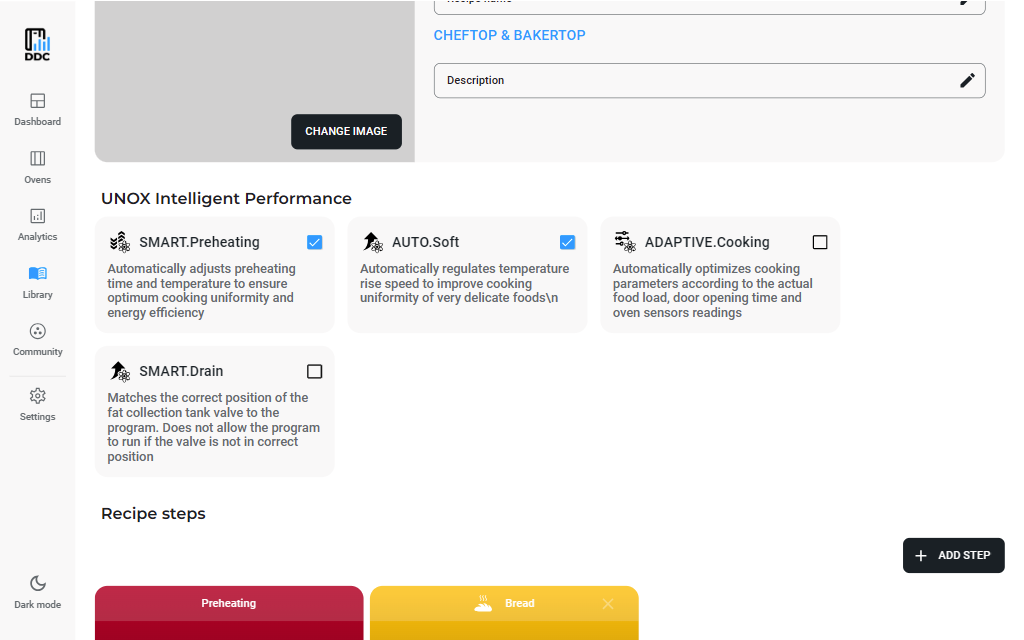
More in detail, intelligent UNOX technologies are:
- SMART.Preheating: SMART.Preheating automatically sets the best temperature and preheating time to guarantee maximum repeatability of results throughout the day. (Available only for ovens Digital.ID™ MIND.Maps™ PLUS, SHOP.Pro™ MASTER.)
- AUTO.Soft™: AUTO.Soft automatically regulates the rise in temperature to make it gentler and guarantee an optimal distribution of heat inside each pan in the oven. (Available only for ovens MIND.Maps™ PLUS, SHOP.Pro™ MASTER.)
- ADAPTIVE.Cooking™: By registering changes in humidity and temperature, it adapts the cooking process to the food-load to deliver an identical and perfect result every time. (Available only for ovens MIND.Maps™ PLUS, SHOP.Pro™ MASTER.)
- SMART.Drain: Prevents the program from starting if the fat collection tank valve is not correctly positioned. (Available only for ovens CHEFTOP MIND.Maps™)
Cooking steps
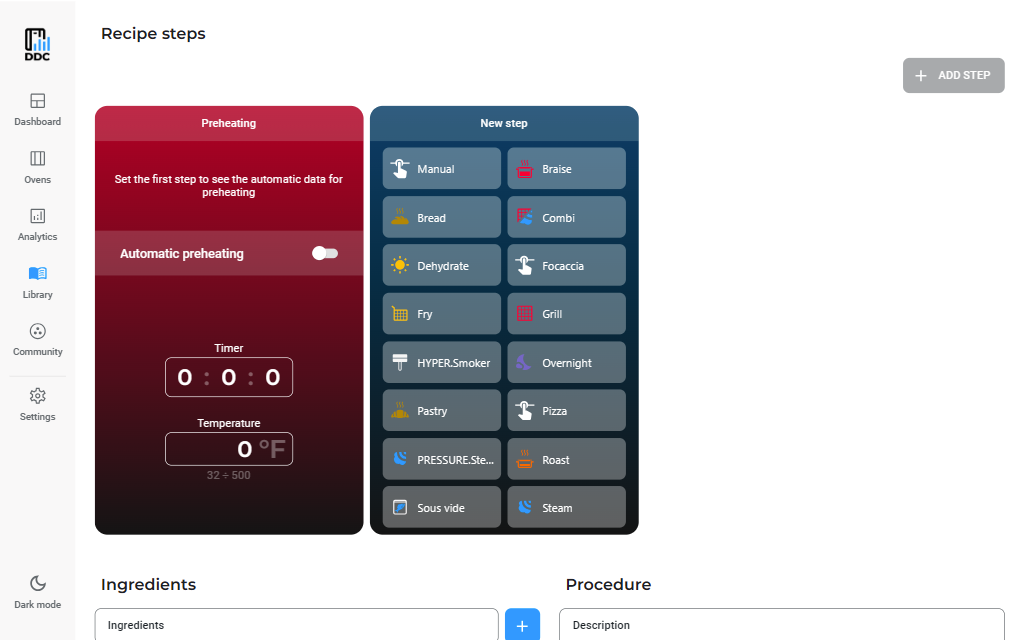
The insertion process of the cooking steps is very similar to the one in the oven panel. By default, preheating is set to Auto, as shown in the following image. You can set a custom preheating by clicking on the switch button.
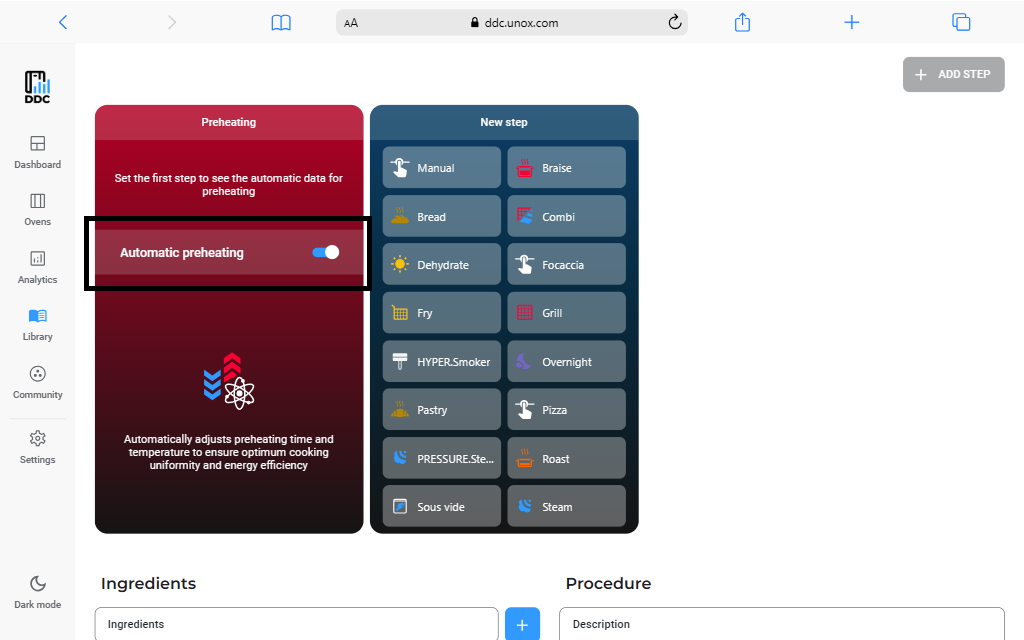
The card will change, and you will be able to choose the duration and temperature for the preheating of the oven. Clicking again on the switch button will bring you back to the automatic preheating.
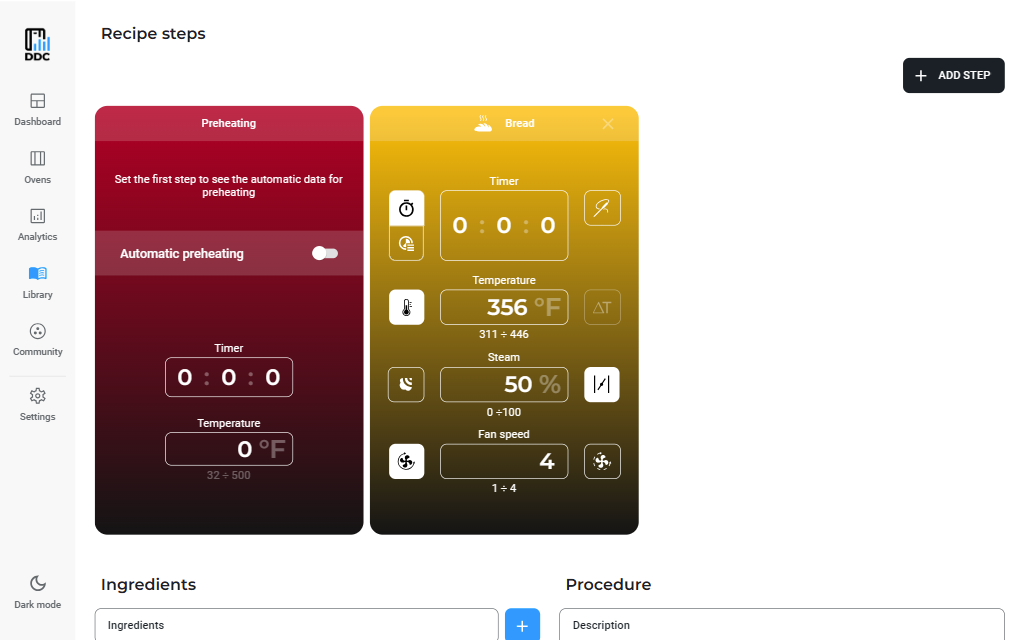
After the selection of the preheating, you can proceed to insert the first cooking step. Click on the preset that you prefer and start creating your recipe!
You can edit all the cooking parameters in the same way you would in the oven panel. You can add as many steps as you want by simply clicking on the Add step button at the top of the steps list on the right.
If you change your mind, you can remove a step by clicking on the Delete icon on the top right of each step card.
Ingredients and preparation
You can also add a list of ingredients and the procedure to follow to prepare your recipe, but note that they will remain in the cloud and will not be sent to the oven.
To add a list of ingredients, write them in the box one by one and click on the ADD button every time.
When you are done, save the recipe by clicking SAVE at the top right of the page.
After creating and saving a recipe, using the buttons on the top, you will be able to send it to ovens, edit it, add it to a recipe book, delete it, duplicate it or share it with ohter accounts, as described here.
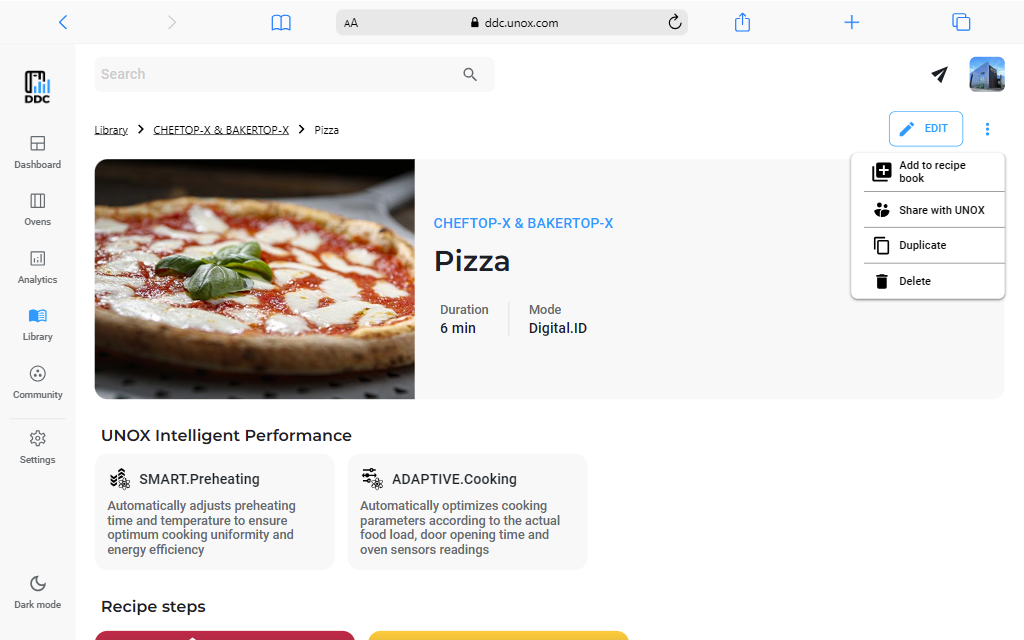
Delete a recipe
You may wish to remove a recipe from your library: to do so, click on the More button, and then select "Delete". Confirm your operation, and the recipe will be removed from your DDC.
Important Notice: If your recipe is not for Ditial.ID™ ovens, go to the oven panel to delete it also from the device: ovens that are not Ditial.ID™ are not automatically synchronize.